You finally have an allotment. There is a gate, a patch of land and, somewhere beneath the vegetation, the possibility of lunch you grew yourself.
There may also be a collapsed frame, a mysterious carpet and more brambles than you remember agreeing to. The temptation is to buy machinery, clear everything and become a vegetable-growing household by next weekend.
A better first-month goal is smaller: understand the plot, make access safe, get one manageable growing area under control and agree what will happen to the rest. That gives you a beginning you can maintain, not an exhausting before-and-after photograph followed by six weeks away.
Featured photograph by Diganta Sarkar via the WordPress Photo Directory · View original and CC0 licence
Your first-month target: a clear assessment, a safe access route, one manageable bed and a realistic maintenance plan. This is a suggested planning sequence, not a promise that every neglected plot can be restored in thirty days. Your tenancy requirements and site manager’s instructions still apply.
Before clearing anything, understand what you have taken on
The RHS guide to starting an allotment recommends checking facilities and tenancy restrictions, and recognises that badly neglected plots may need work spread across several seasons. Do not mistake a long-term ambition for a requirement to finish everything immediately.
Read the actual agreement. Find out about cultivation expectations, inspections, water use, structures, waste disposal and permitted covering materials. Do not assume your neighbour’s arrangements apply to your plot.
When the condition is substantially worse than expected, document it and ask the manager about a workable starting plan. Do this early, not after buying materials for a layout the site will not permit.
A phased approach is useful only when it fits your obligations. “I am following a gardening blog” is not a substitute for agreeing how neglected areas will be managed.
Week one: assess, record and make a way in
Begin with observation rather than clearance. The National Allotment Society’s neglected-plot guide recommends assessing access, boundaries, growth and hidden hazards before dividing the work into smaller sections.
Take photographs from a few fixed points and make a rough plan. Mark the entrance, existing beds, paths, water access, storage and anything you may want to retain. Note where you can safely place tools and gather ordinary waste without blocking a shared route.
Do not assume that everything standing is a weed or everything buried is rubbish. An established fruit plant may be worth keeping; an unknown plant may need identification before you touch it. Ask an experienced plot holder or use reliable horticultural guidance rather than treating an image-recognition result as certainty.
Your first physical task can be a short, safe access route. Being able to reach the working area, carry a watering can and leave without stepping over debris makes every later visit easier.
Stop where the problem is not ordinary gardening
Unknown containers, suspect building materials, unstable structures, sharp debris and plants you cannot safely identify deserve caution. Keep people and animals away from an uncertain hazard and ask the site manager about appropriate specialist help or disposal.
Do not burn mystery waste or transport unidentified invasive plant material to another part of the site. A tidy-looking pile is not necessarily a safe disposal method.
For ordinary work, use suitable gloves, footwear and tools, following the equipment instructions. Check vegetation carefully before cutting and avoid disturbing wildlife. If a task needs machinery or specialist knowledge you do not have, ask for help rather than turning the first weekend into a test of determination.
The useful question is: can I make progress safely today, or does this particular job need a different person, tool or decision?
Learn the difference between cutting growth and solving the problem
Removing the visible top growth can reveal the ground, but it does not necessarily remove the plant’s ability to return.
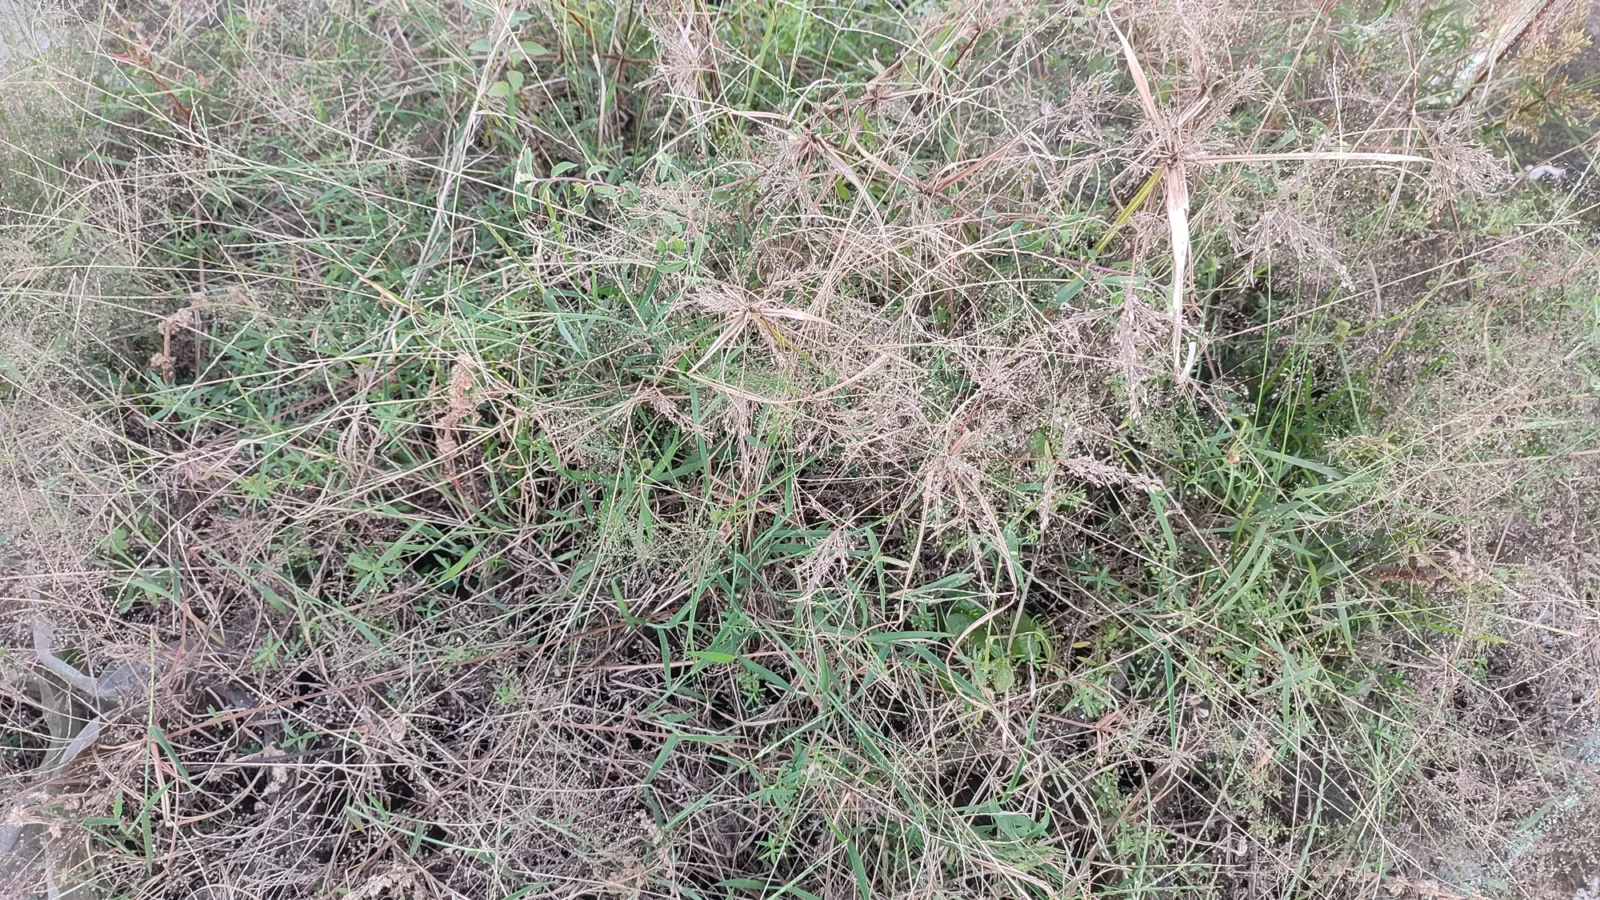
The National Allotment Society distinguishes annual weeds from persistent growth such as couch grass and bindweed, which can regrow from underground material. It also warns that rotavators may spread perennial fragments when used carelessly.
That is a reason to identify the main problem before hiring equipment. A machine can make a large area look finished quickly while leaving you with more fragmented roots to manage.
For a beginner, aim to understand the weeds in the first small section rather than memorising every plant on the whole site. Use RHS non-chemical weed-control guidance to choose between appropriate removal, repeated cutting and smothering.
Do not expect one method to solve every patch. The useful outcome is less regrowth you can manage, not a declaration that the plot is permanently weed-free.
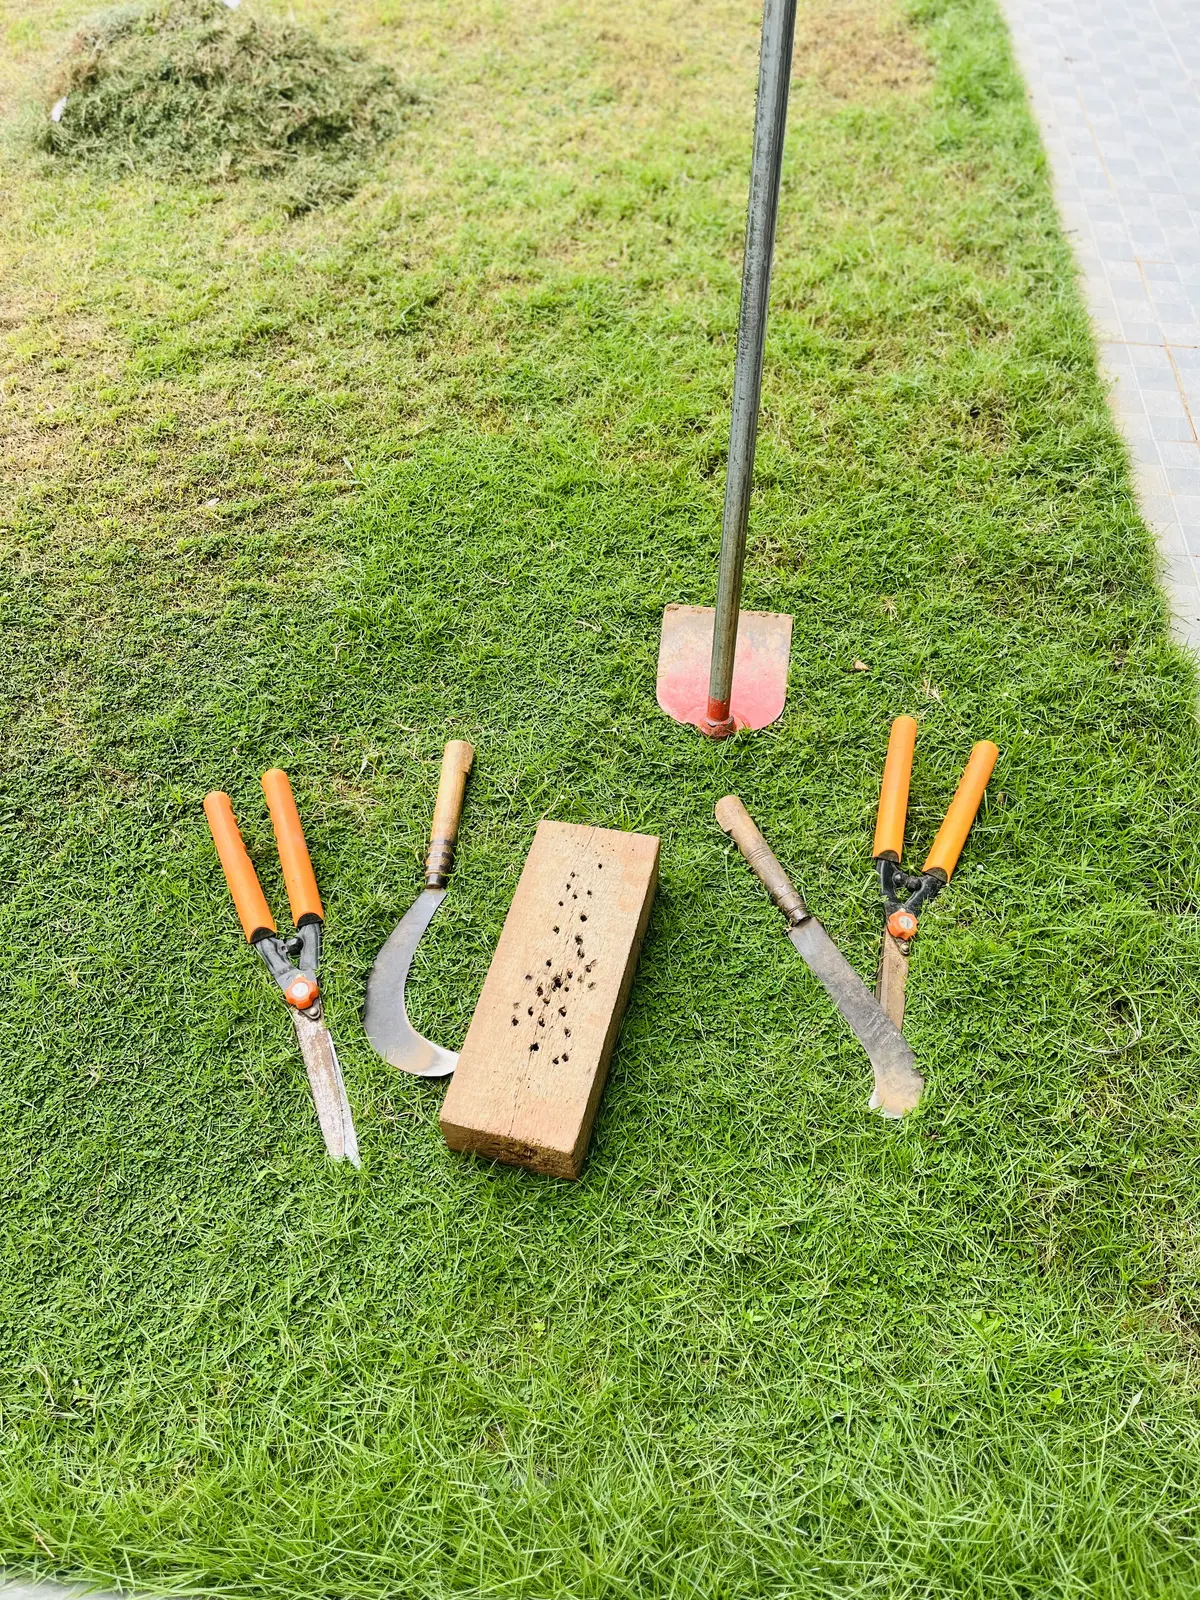
Photo by Midhun P via the WordPress Photo Directory · View original and CC0 licence
Buy for the next job, not the finished allotment
A modest starting kit might include gloves, a suitable fork or spade, hand tools, a watering can and something appropriate for collecting ordinary waste. Add cutting tools only where you know what you are cutting and can use them safely.
Borrow or inspect equipment before purchasing when that is practical and permitted. Comfort and suitability matter more than owning a matching set.
Postpone the greenhouse, decorative edging, elaborate irrigation and a large seed order until you understand your layout, water supply and available time. The first month is partly a test of how you work on the plot.
Keep a simple list headed needed for the next visit, useful later and not yet justified. That makes it easier to leave a tempting purchase in the shop without feeling that you are falling behind.
Week two: choose one bed you can actually maintain
Select a sensible section near safe access, taking account of light, existing plants and water availability. Keep the shape simple and choose a width you can reach from the edges without repeatedly stepping on the growing area.
Before deciding its size, estimate how much time you can give it during an ordinary busy week. The correct first bed is not necessarily the biggest area you can clear on a sunny Saturday.
Use string or temporary markers to test the layout before buying edging. Walk around it while carrying the items you expect to use. Can you turn, kneel or work from a seat comfortably? Will a path still be usable when plants grow outward?
A practical first layout is a working bed beside a maintained path, with an agreed plan for the uncleared section. Leave permanent structures until the arrangement has proved useful. Paths are part of the allotment, not wasted space left between crops.
Dig or no-dig? Choose a method, not an identity
You do not have to join a gardening faction before growing your first lettuce. Hand clearance can suit one area; a no-dig approach may suit another. Consider the weeds, materials, effort and maintenance each approach requires.
For a new no-dig bed, the RHS guidance describes overlapping cardboard beneath a substantial layer of organic matter. It advises avoiding shiny printed cardboard and removing tape and staples. It also warns against starting when soil is waterlogged.
That does not mean laying cardboard over every unresolved problem. Deal appropriately with woody growth, hazards and persistent weeds, then monitor for anything pushing through. No-dig describes how you manage the soil; it does not mean no inspection or no weeding.
The National Allotment Society’s cardboard guidance also favours a careful choice of plain material, with unwanted attachments removed and sheets secured. Check that your site permits the method and covering materials you propose to use.
Work out the compost volume before ordering it
The depth of a new bed matters because small-looking areas can require a surprising volume of material.
Illustrative calculation: a bed 1.2 metres wide and 2.4 metres long has an area of 2.88 square metres. A 10 cm layer requires approximately 288 litres of material. A 15 cm layer requires approximately 432 litres, before allowing for settlement or uneven ground.
The calculation is simply area multiplied by depth, using metres, then converting cubic metres into litres. The RHS no-dig starting guidance describes a 10–15 cm organic-matter layer; the example shows why you should price the quantity before scaling up.
This is not an instruction to order that amount for every plot. Existing beds, soil conditions and the method you choose may differ. It is a reminder that “just cover it with compost” has a material and transport cost.
If the quantity is too much, reduce the first bed rather than buying an inadequate amount for a much larger area.
Keep the rest controlled while you start growing
A small cultivated bed will be frustrating if everything around it is allowed to become inaccessible again. Agree a manageable approach to paths, boundaries and areas waiting for attention.
The RHS weed-control advice notes that smothering persistent perennial weeds can require several growing seasons. A covering is therefore a longer-term management choice, not a guaranteed four-week reset.
Choose a method and material allowed by the site, secure it properly and inspect it regularly. Avoid old carpet as a default weed barrier; the RHS allotment guidance no longer recommends it.
Make a simple record of which section is being cleared, which is being controlled and when each will be checked. Do not let the visible progress in one bed hide a problem on a shared path or neighbouring boundary.
Week three: select crops for your conditions and calendar
Choose a small number of things you actually eat. Then check their sowing or planting window, light requirements, spacing and likely care needs against the space and season you have.
Check planting windows rather than assuming everything on sale is ready to sow outdoors.
Keep your first crop plan simple enough to explain on one page. Record the crop, where it will go, when it needs attention and how you will water it. Leave room to make mistakes without losing the entire season’s plan.
If the timing is poor for your preferred crops, preparing and protecting the bed is still useful progress. You do not have to plant something unsuitable merely to prove that the allotment is underway. Start with the calendar you have, not the spring you wish had just begun.
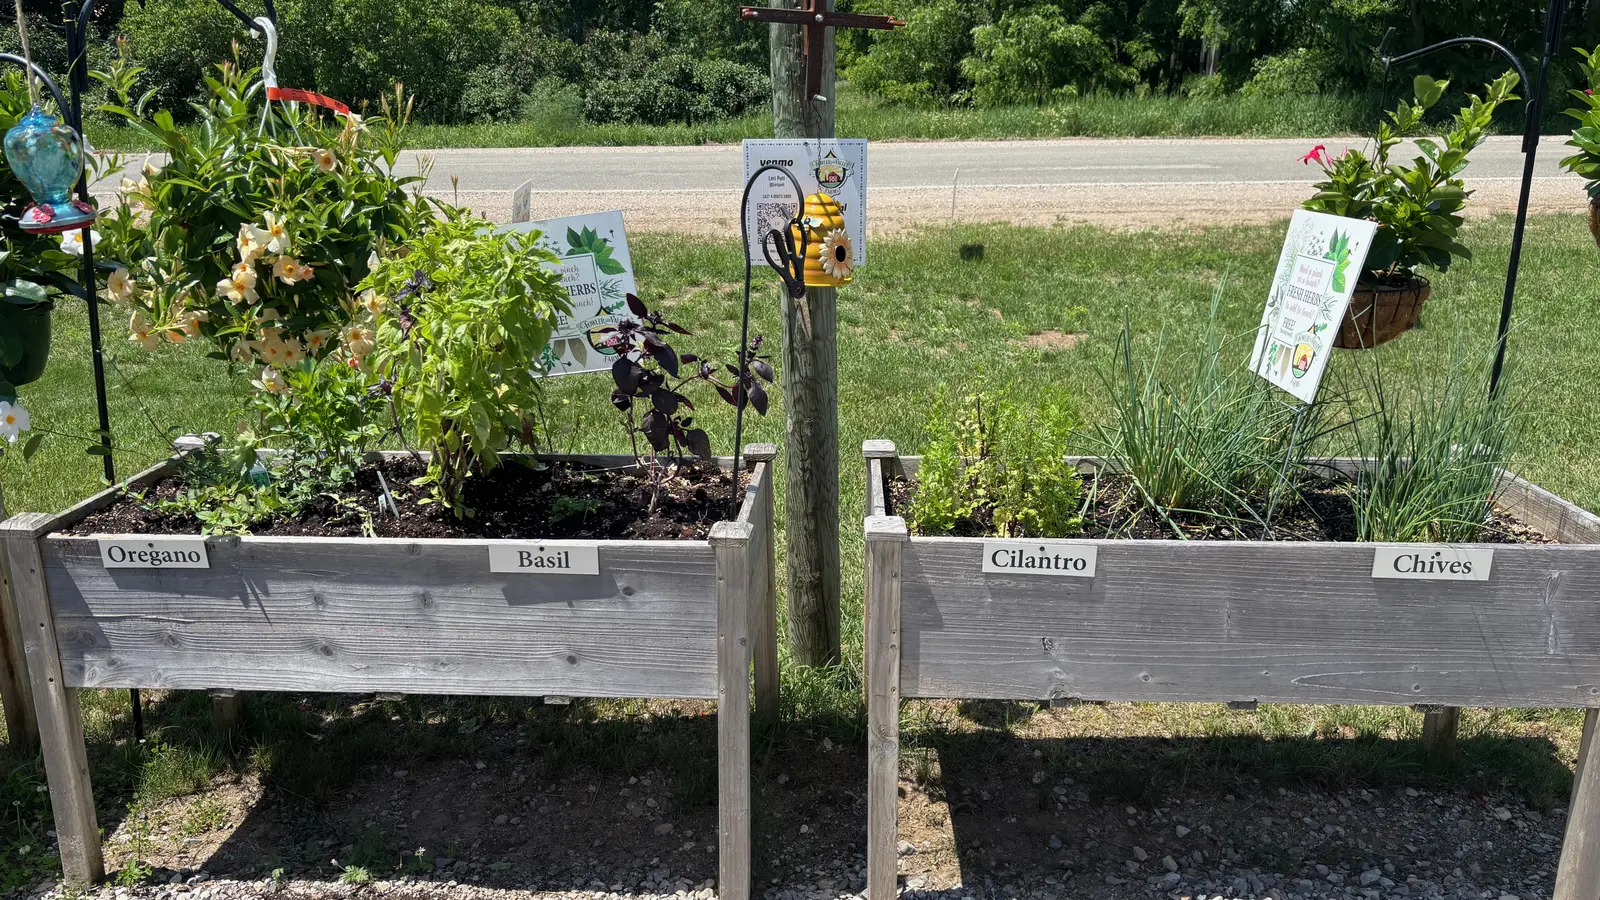
Photo by Topher via the WordPress Photo Directory · View original and CC0 licence
Plan water and waste before they become urgent
Work out how water reaches your bed and what the site allows. If supply is seasonal or shared, understand the arrangements before planting crops that will depend on frequent attention.
Try carrying a filled watering can along the proposed path. Consider how you will manage during a busy week or a short absence rather than assuming somebody else will water without agreement.
For waste, separate ordinary rubbish from suitable plant material and problem weeds. Follow the site’s disposal rules and the relevant guidance rather than placing everything into one heap. Do not distribute persistent weed roots around the plot while tidying.
Ask where shared deliveries can go, whether access must be booked and how long materials may remain there.
Week four: review what your routine can sustain
Return to the photographs from the first week. Have you created useful access? Can you find and use your tools? Is the first bed becoming easier to manage? Is the rest of the plot being controlled as agreed?
Now review the time spent. If your only productive visit required a whole uninterrupted weekend, simplify the plan. Small regular jobs may fit your life better than a series of ambitious rescue days.
One suggested visit format is to check the plot, complete one defined job and leave a few minutes for clearing tools and recording the next task. Adapt the length to your health, weather and workload; a blog timetable is not a reason to overexert yourself.
Finish each session by writing the next small action. “Remove remaining roots from the near corner” is easier to begin than “sort allotment”. It also makes asking for help more specific.
Three common first-month mistakes
Clearing more than you can maintain. A large exposed area may simply become another weeding job. Expand after the first section is working, while still meeting the site’s requirements.
Building before understanding the plot. A shed, permanent path or timber bed is harder to move than string. Test where you need to walk and work before committing money.
Treating advice as a competition. Neighbours may use different methods successfully. Ask what suits the local conditions, then choose an approach you can maintain. You do not need to reproduce somebody else’s mature plot in your first season.
Allotment life can also provide a recurring social activity. Our guide to making friends as an adult explores how small, repeated conversations can lead to connection. On the plot, start with an introduction and a specific question—not an expectation that someone else will take over your clearance.
What success should look like after a month
You know the rules and the main problems. You have a safer way in, one manageable growing area, a suitable plan for the rest and a routine you can repeat. Any hazards needing help have been raised rather than hidden beneath a tidy surface.
That may look less dramatic than a completely cleared plot. It is often a much better foundation.
Your first month is not about producing the allotment of your imagination. It is about making the next visit easier—and giving yourself a reason to keep coming back.
Sources and further reading
- RHS: starting an allotment, facilities and phased clearance.
- National Allotment Society: bringing an overgrown allotment back to life.
- RHS: non-chemical weed control.
- RHS: no-dig gardening.
- National Allotment Society: using cardboard on allotments.
Sources checked 11 September 2026. The weekly sequence and example bed are editorial planning suggestions. They do not replace site rules, individual safety requirements or specialist identification and disposal advice.